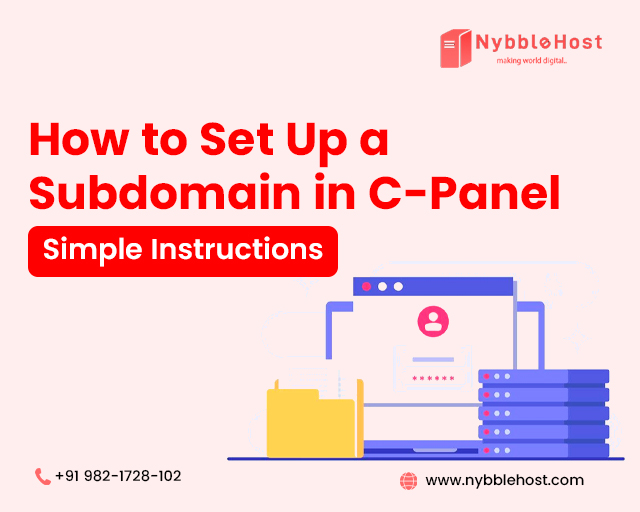
How to Set Up a Subdomain in C-Panel is a straightforward process that can greatly enhance the organization and functionality of your website. Whether you want to create a subdomain for a blog, an online store, or a specific project, cPanel makes it easy. In this guide, we’ll walk you through the steps to create a subdomain, troubleshoot common issues, and explain why reliable hosting can make a difference. Let’s dive in!
What is a Subdomain?
A subdomain is an additional section of your main domain that acts as a separate entity but is still part of your primary website. For example, in blog.example.com, Post is the subdomain of the main domain example.com. Subdomains are useful for organizing different sections of a website or hosting different websites under one domain.
Why Create a Subdomain?
-
Organize Content: Separate different types of content, such as a Post or a store.
-
Improve SEO: Target specific keywords and topics more effectively.
-
Test Environments: Create staging areas or development sites.
-
Branding: Offer unique subdomains for various services or departments.
How to Create a Subdomain in cPanel
Follow these steps to create a subdomain using cPanel:
Step 1: Log in to cPanel
- Access cPanel: Open your web browser and go to your cPanel login page. This is usually found at http://yourdomain.com/cpanel or through your hosting provider’s dashboard.
- Log In: Enter your username and password, then click “Log in.”
Step 2: Locate the Subdomains Section
- Find the Section: Once logged in, scroll down to the “Domains” section and click on “Subdomains.”
Step 3: Create a New Subdomain
- Enter Subdomain Details:
- Subdomain: Enter the name you want for your subdomain (e.g., blog).
- Domain: Select the main domain from the dropdown menu.
- Document Root: The document root is the folder where the subdomain’s files will be stored. This is usually filled in automatically.
- Click “Create”: After entering the required details, click the “Create” button.
Step 4: Confirm Subdomain Creation
- Check Confirmation: You should see a confirmation message indicating that your subdomain has been successfully created.
- Access Subdomain: Your subdomain is now live and can be accessed by going to http://subdomain.yourdomain.com.
Troubleshooting Common Issues
-
Subdomain Not Working: Ensure that DNS records are properly updated. Sometimes it takes a few hours for DNS changes to propagate.
-
Error Messages: Double-check that you have entered the subdomain name correctly and that there are no typos.
-
Permissions Issues: Ensure that the document root folder has the correct permissions to allow file uploads.
Why Choose Reliable Hosting for Subdomains
Using a reliable hosting provider like NybbleHost ensures that your subdomains operate smoothly and efficiently. NybbleHost offers optimized web hosting solutions with excellent support, fast performance, and robust security features. This means you can create and manage subdomains with confidence, knowing your sites will be reliable and secure.
Upgrade to NybbleHost for Superior Hosting
If you’re setting up subdomains and need reliable hosting, consider NybbleHost. Our web hosting plans are designed to provide excellent performance and support for managing multiple subdomains effortlessly.
👉 Get Started with NybbleHost Today!
Visit NybbleHost to explore our WordPress hosting plans and experience seamless management of your web domains.
Conclusion
Creating subdomains in cPanel is a simple process that helps in organizing your web content effectively. By following the steps outlined above, you can easily set up and manage subdomains for various purposes. For reliable hosting and exceptional support, choose NybbleHost and ensure your websites run smoothly.
Need reliable hosting for your subdomains? Upgrade with NybbleHost today for fast, secure, and dependable web hosting solutions!